Have you ever wondered why your code works on your laptop fine, but not on your desktop? Or a colleague sent you their code, the code worked fine on their end but not yours? Although there are many factors that might cause this issue, today we will talk about one of the possible factors. Today we’re going to talk about Virtual Environments.
Virtual environments are isolated spaces for your projects to live on. This means that each project can have its own dependencies, regardless of what dependencies every other project has.
You want these spaces because someone trying to run your code might face an error if they are using different versions of the modules you used. Because of the regular updates to popular packages, something might change along the road and cause this issue. Or let’s say you want to review your project after 2 years and years of development on your favorite modules will probably cause you some problems trying to run your old code because of the incompatibility issues caused by your updated modules. So to fix this you can just write down every module you used to a text file or you can use a virtual environment tool to produce easily sharable virtual environment files.
Although there are more options to use, 4 virtual environment tools are the most popular and widely used. These tools are called venv, virtualenv, pipenv, and conda. Today we will focus on Conda.
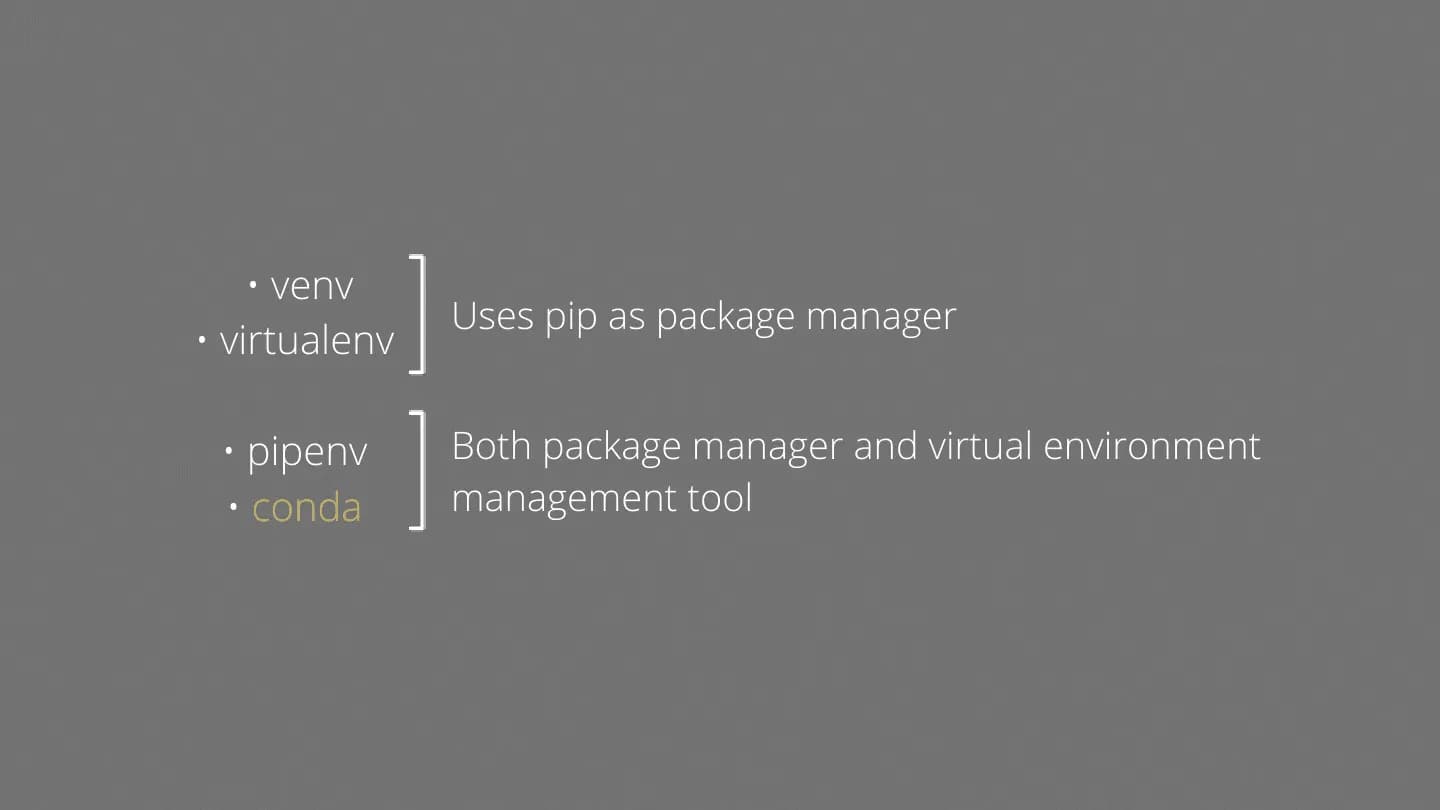
While venv and virtualenv use pip as their package manager, pipenv and conda can be used for both managing packages and virtual environments.
Setting Up Anaconda
You can get Anaconda from anaconda.com
Working with Anaconda is pretty straightforward. Get the installer for your operating system, install Anaconda, run Anaconda Prompt and you’re good to go!
Creating and working with virtual environments
Let’s imagine creating a virtual environment is like creating an empty sealed box. You will put the books you read inside and the box’s contents will be isolated from other books in your room and keep the place clean and tidy.
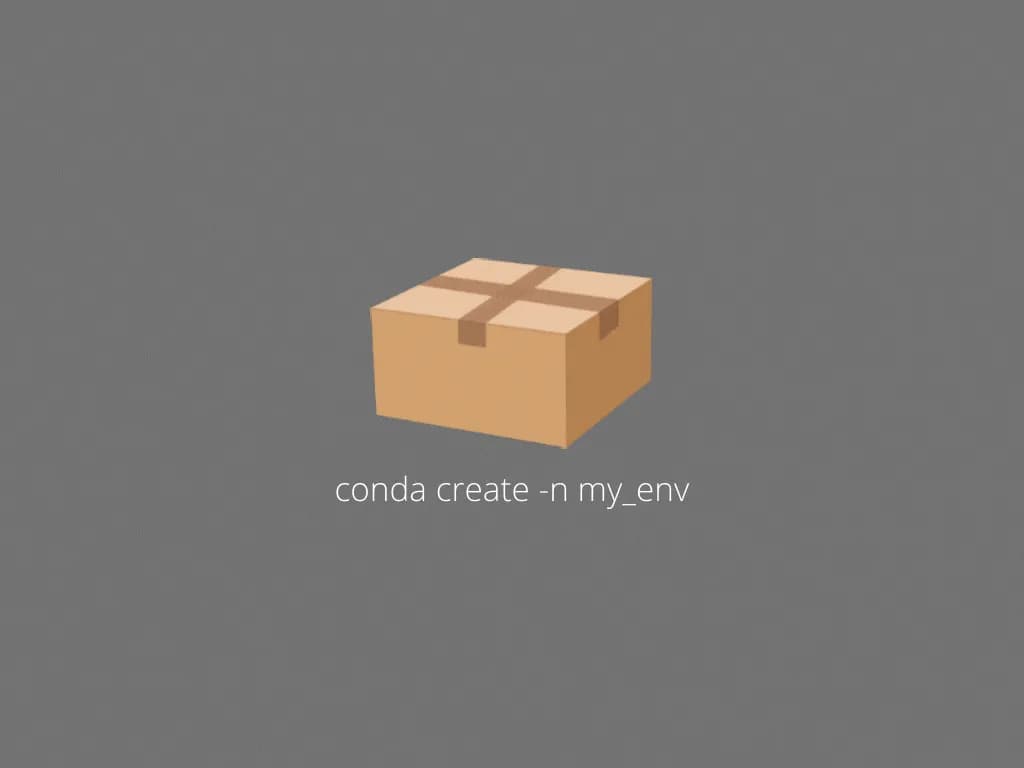
To create this box using Anaconda Prompt we write down:
conda create -n my_envWe created the box but it is still sealed. If we wanna put the books inside, first we have to open the box.

To open the box using Anaconda Prompt we write down:
conda activate my_envNow that the box is open we can put our books inside freely.
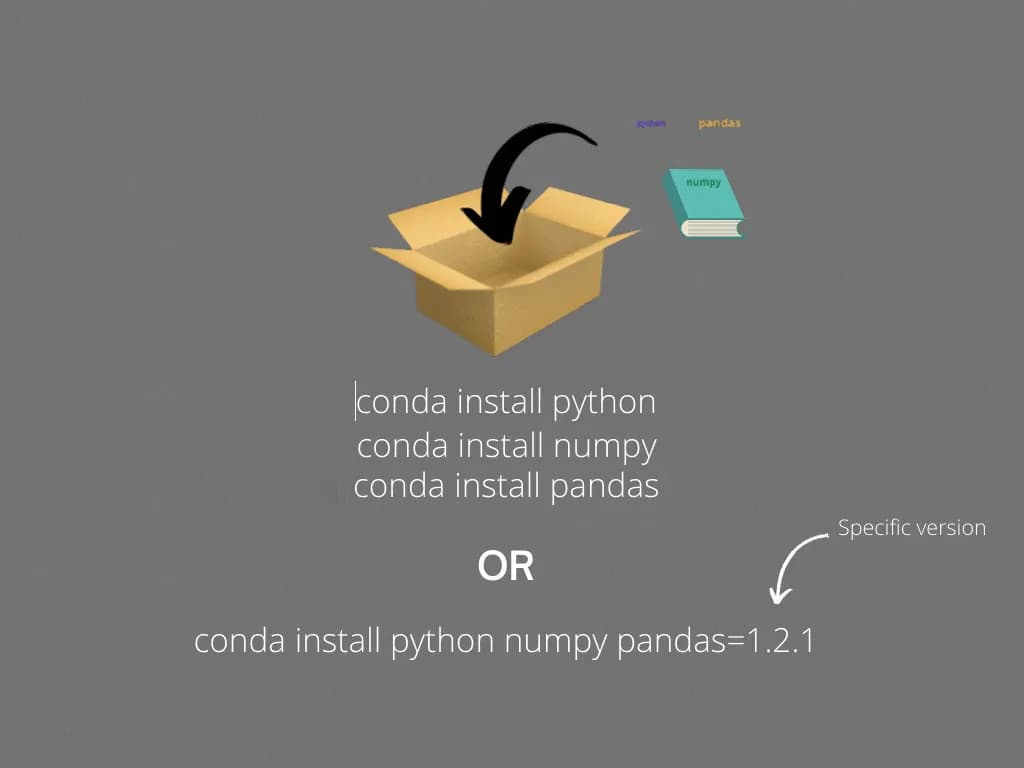
To put our books inside using Anaconda Prompt we write down:
conda install python
conda install numpy
conda install pandas
or we can just add the name of the books one after another with a single space between:
conda install python numpy pandasand if we have different prints of the same book and we want to put a specific one into the box, using Anaconda Prompt we write down:
conda install pandas=1.2.1From time to time you may want to know which books you have inside the box.
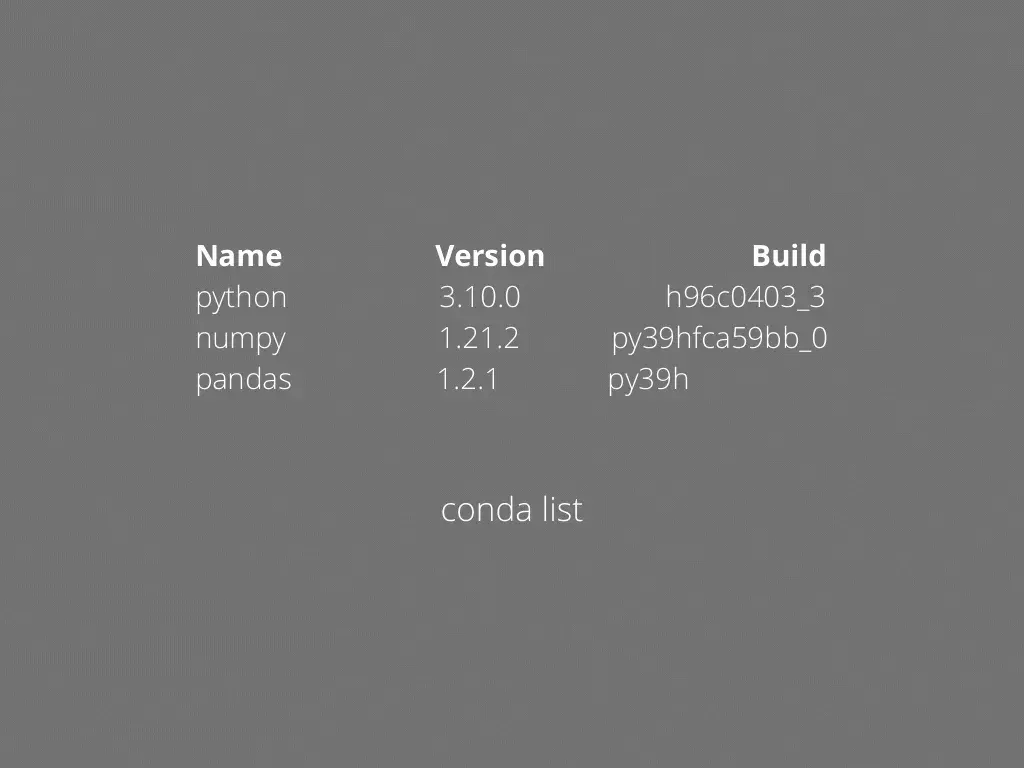
To see every book you have you use:
conda listAnd what happens when you want to replace your old book with a new print?
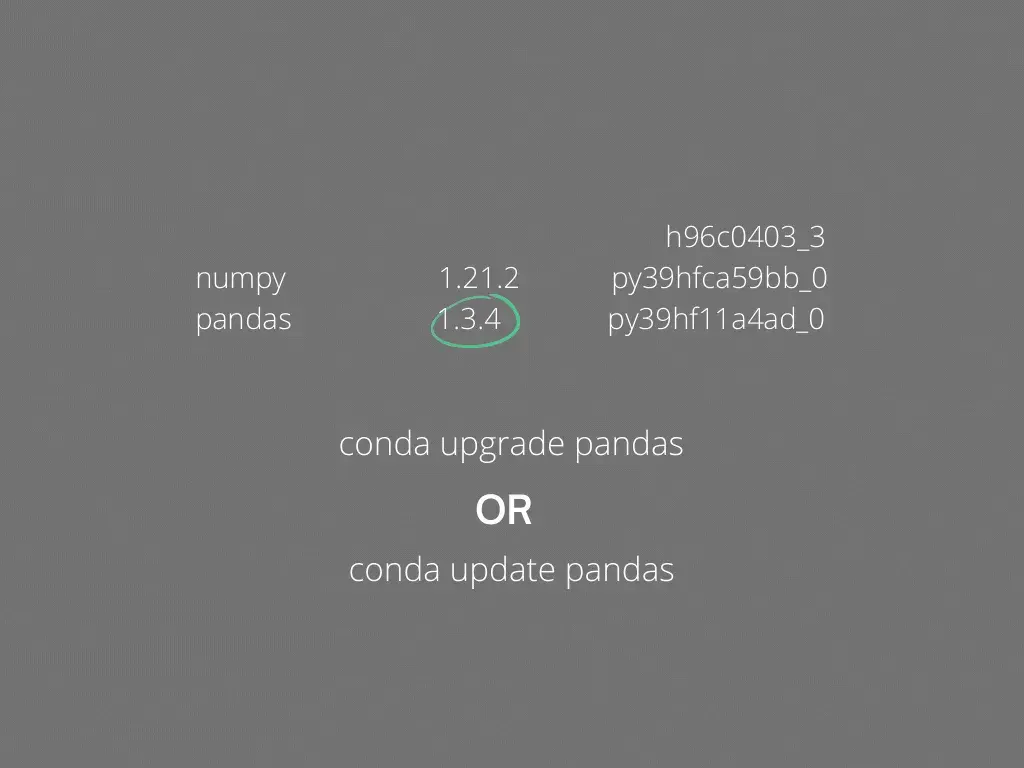
To replace your book with the new print you use:
conda update package_nameor
conda upgrade package_nameLet’s say you no longer want to keep a book inside your box.
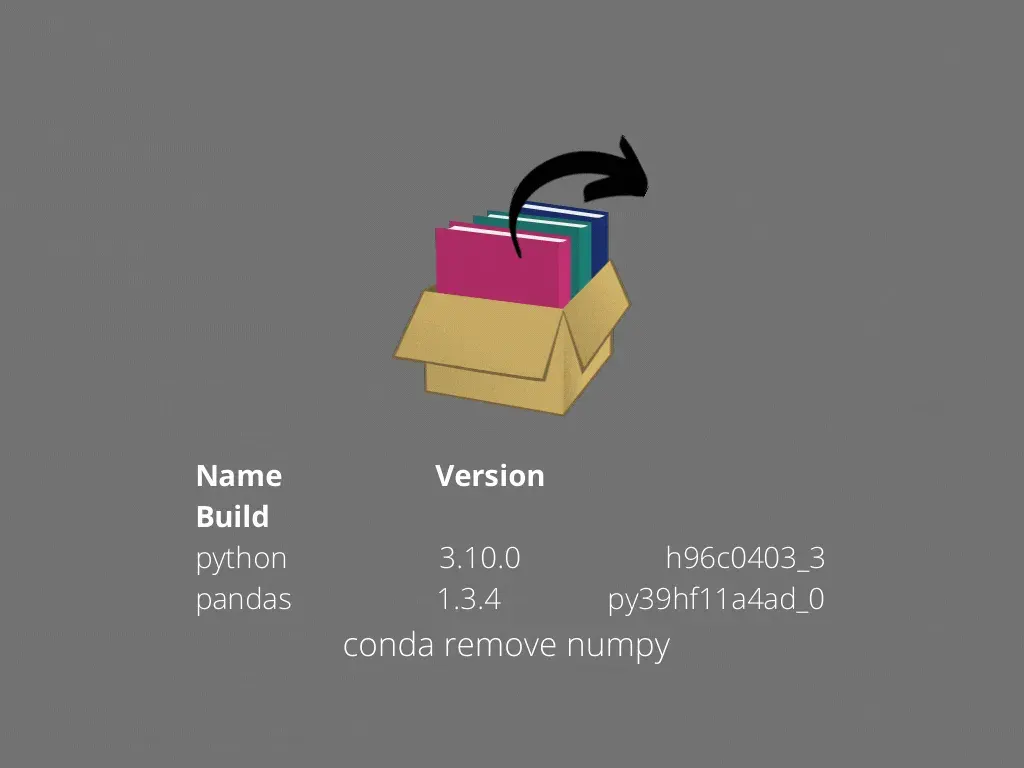
To achieve this, using Anaconda Prompt you can write:
conda remove package_nameYou studied all the books inside and have all the knowledge you need for a certain subject. Now a friend of yours wants to study the same subject as exactly as you did and keeps confusing himself. He’s probably trying to learn from different prints. You want to help your friend out so you want to send the contents of your box to him.
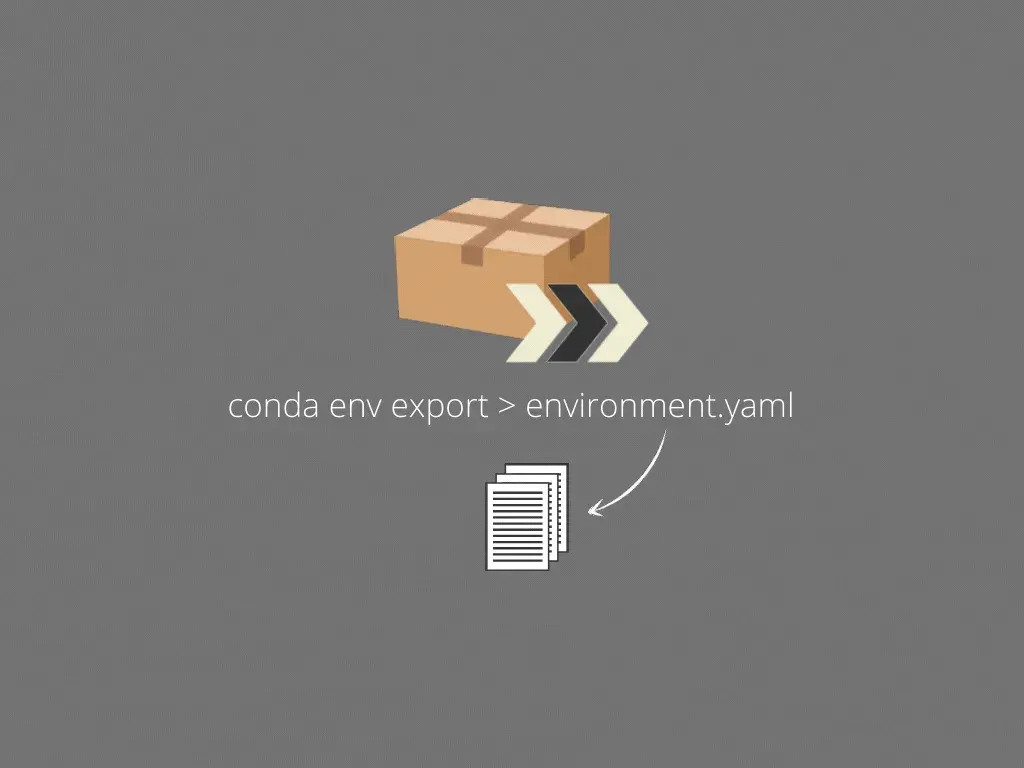
You can write down the contents to send to your friend using:
conda env export > environment.yamlAnd after your friend gets the contents he can use it as a shopping list to get the books:
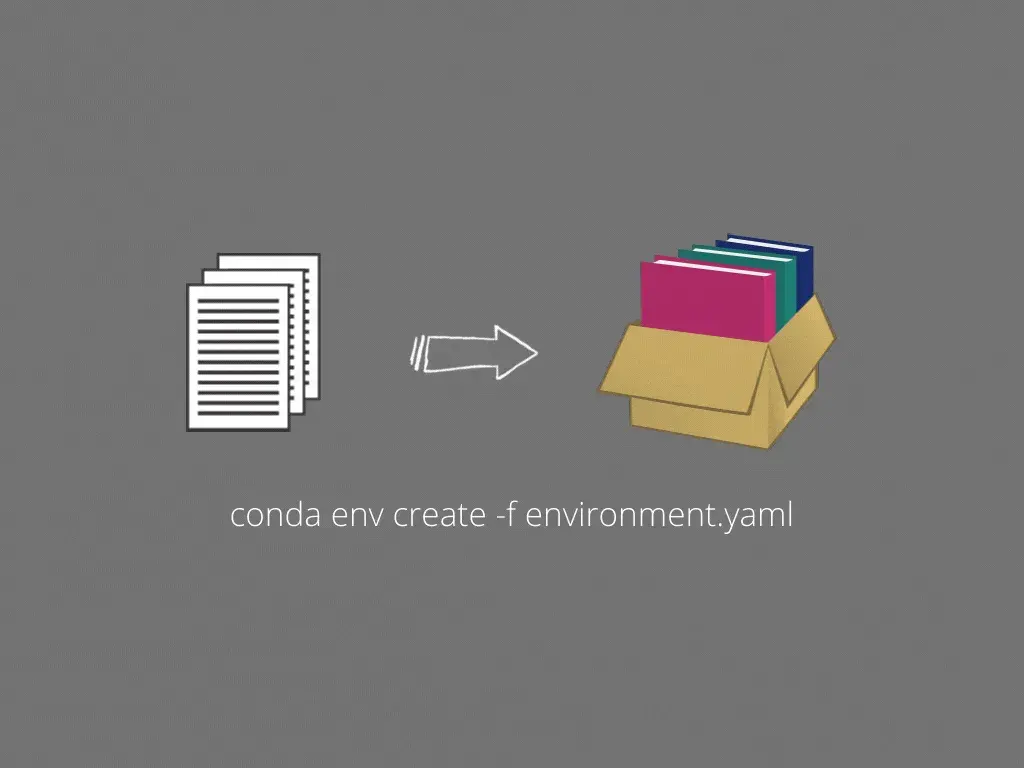
conda env create -f environment.yamlAfter you know you will no longer need the box and have already written down what you had inside to a notebook you may want to make the box disappear from existence.

To achieve this:
conda env remove -n my_envToday we’ve talked about virtual environments, some of their use cases, why they are useful and how can we create and manage our own virtual environments. This might be an unorthodox way to explain how virtual environments work but I really think this is easier to get a fast and good grasp of the concept.